Project to make: mini pamphlet book
- Mar 24, 2020
- 3 min read
Make a mini pamphlet book from one piece of paper!
At the Frederick Book Arts Center we LOVE making books, and we especially love being able to share that passion with our little ones. One of our favorites to make with the kids is this mini pamphlet stitch made from one folded down piece of printer paper! This is a great introduction to bookbinding and has a very simple sewing pattern that will make your kiddos feel like they’re the next Gutenberg!
Supplies:
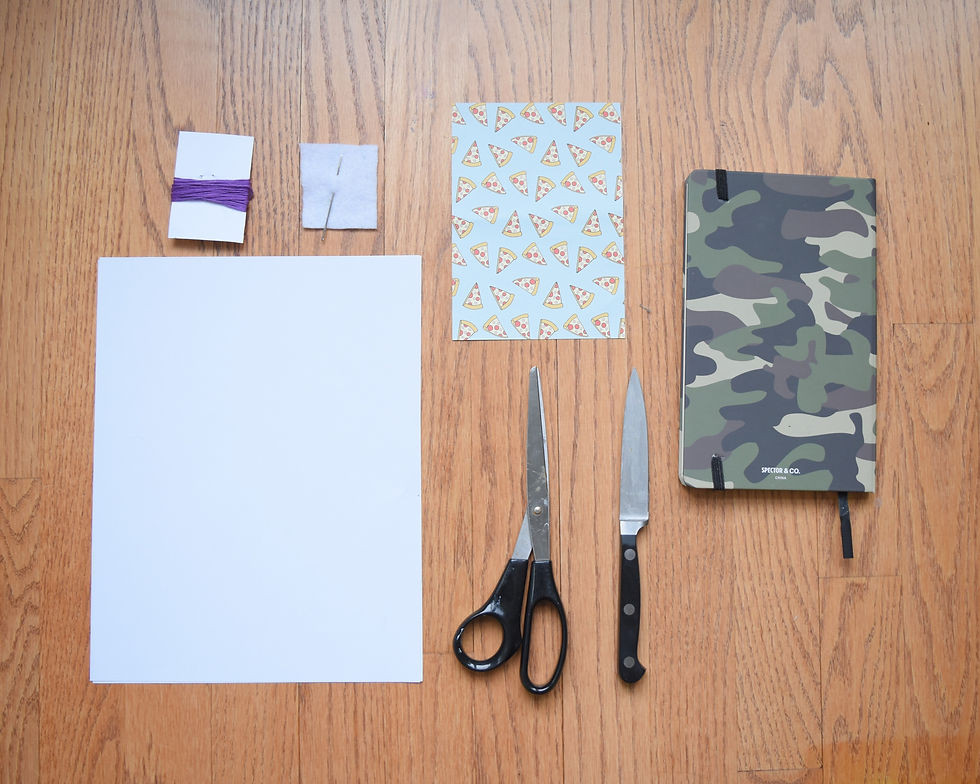
1 sheet of copy paper
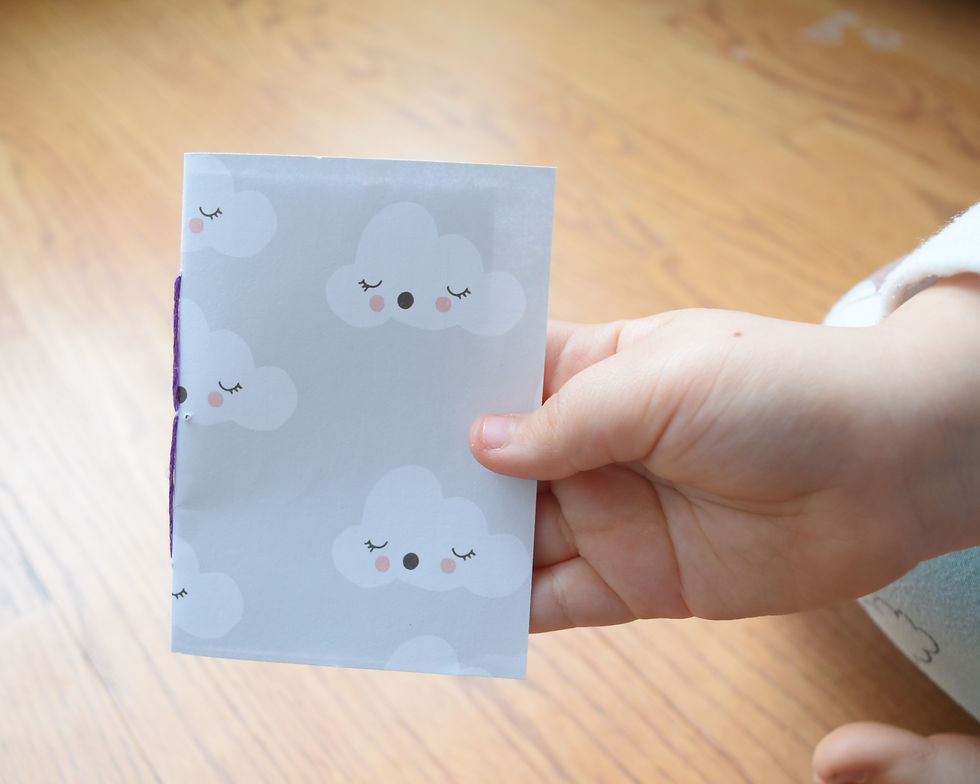
1 colorful sheet of 5.5 in x 4.5 in (optional cover)
Scissors
Ruler
Knife that is not serrated
Sewing needle
Embroidery floss
Magazine or notebook
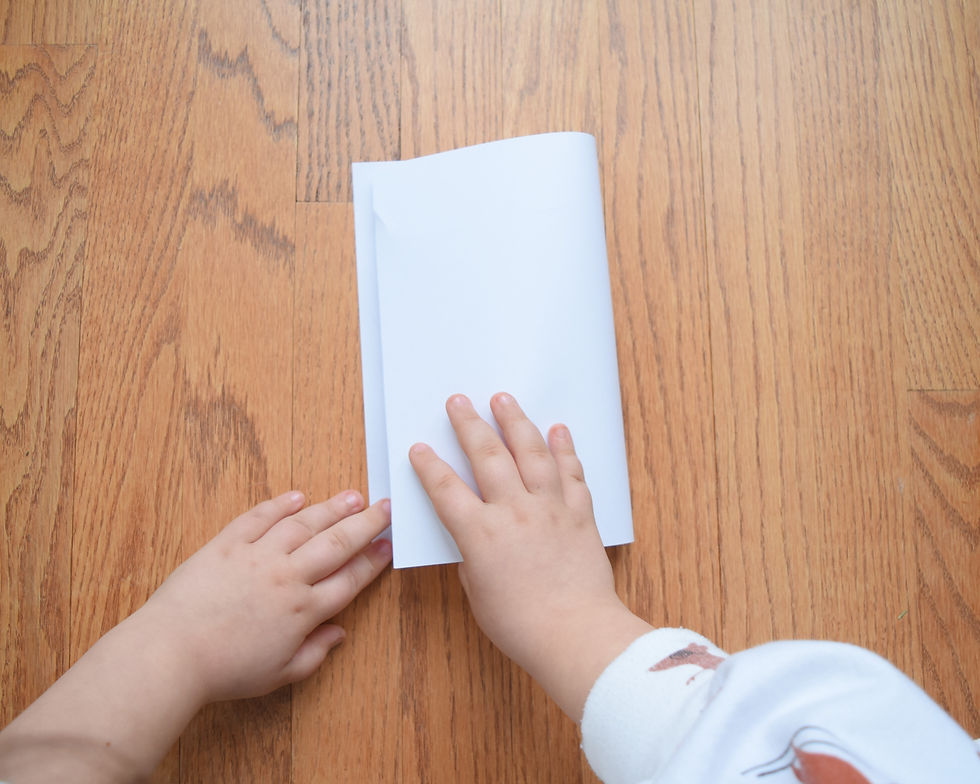
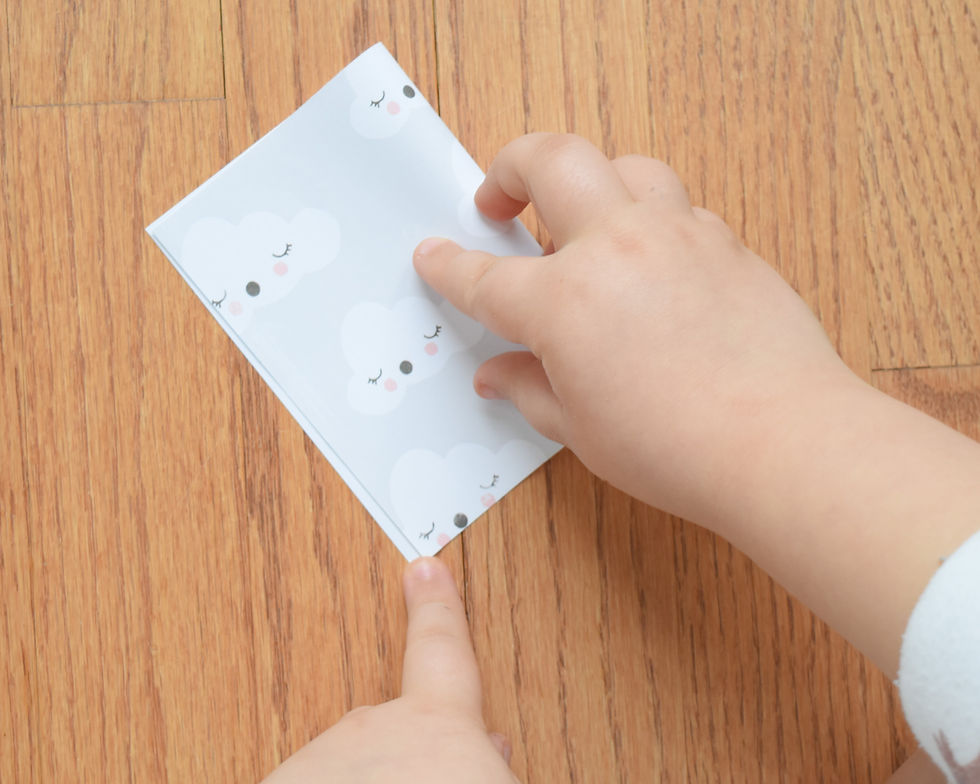
Start by taking your piece of copy paper and fold it in half hamburger style; then fold it again; and then one last time! If you want your book to have a fun and colorful cover, now is the time to cut that paper down to 5.5in x 4.5in, fold it in half hamburger style and then set it aside for later.

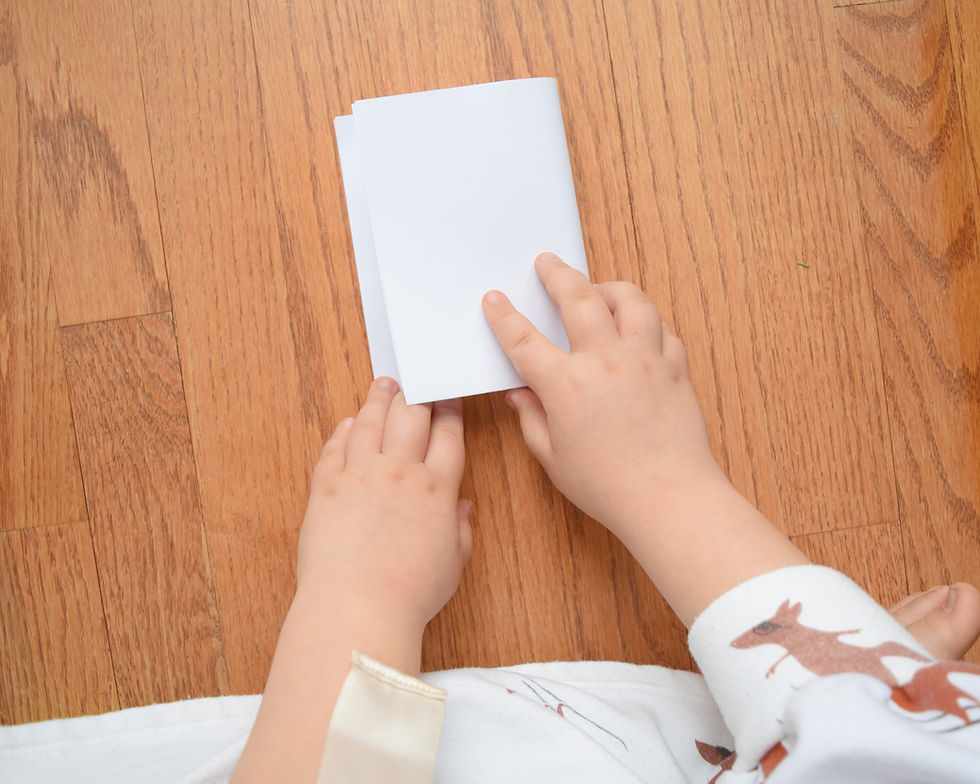
This next step is for the adults! Because you folded your paper down, you will find that there are some pages that are still connected along the top and sides. Take your knife and gently slice open those areas to create your pages. This folded stack of pages is now called a signature!

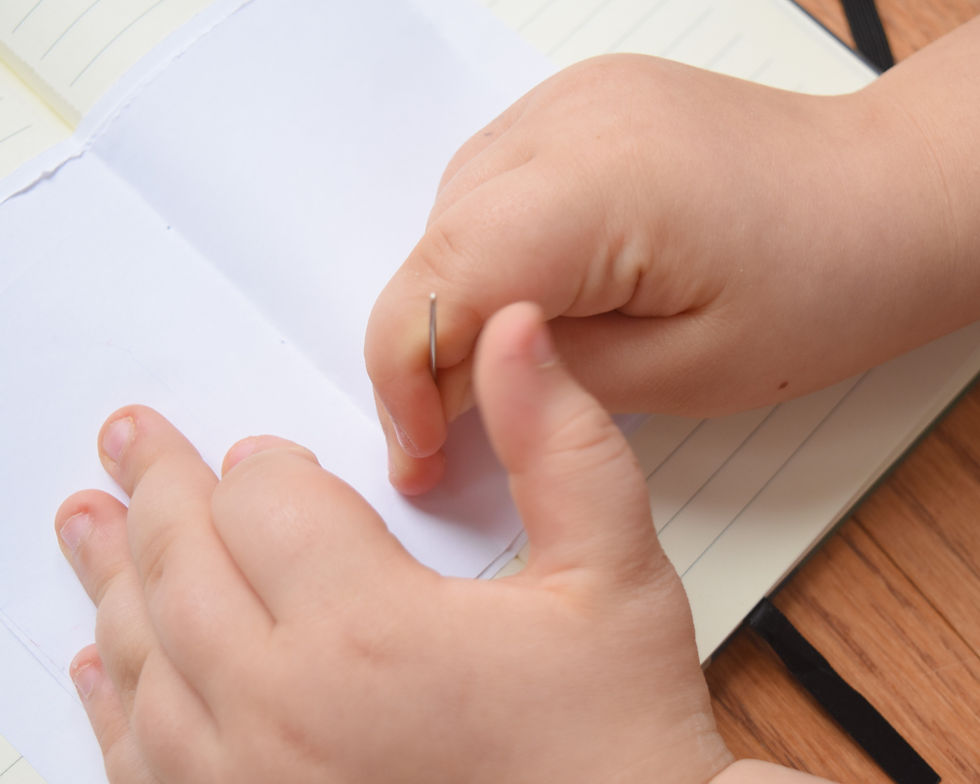
Take your folded signature and jog it so that all of the pages are nicely lined up. If you don’t know what it means to jog the pages, just simply knock all the sides on the table so that they naturally start to fall into place with each other. Now nest your signature inside your cover, if you are using one, open it to the middle, and lay it open inside the book or magazine. The book or magazine will help your book keep it’s shape while you carefully use your needle to poke three equidistant holes through the fold of your papers. Typically a bookbinder would use an awl to create these holes but not everyone has one of those lying around!


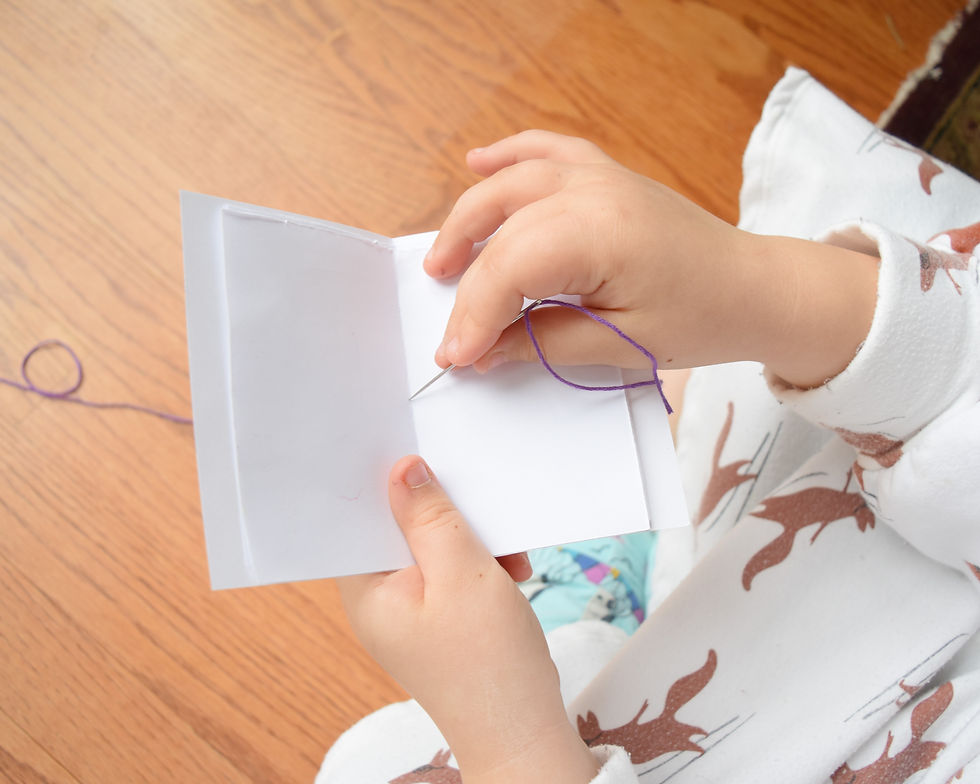
It’s time to start sewing your book together! Thread your needle with the embroidery floss; this stitch doesn’t require a lot of thread but you will want to make sure that you have enough left over to tie a knot, so 3 lengths of the book height should be enough. With your book open to the middle, insert your needle through the inside middle hole, be sure to leave yourself enough of a tail to tie a knot at the end. Once you have pulled your thread all the way through and left the tail, insert your needle back through the outside top hole, making sure that you pull it all the way through and that your tail stays the same length. Next you will put your needle through the inside bottom hole, making sure to pull it tight but not too tight so that the paper rips or you lose your tail. Lastly, you will insert it back through the outside middle hole and tie it off with the tail using two square knots. Cut the excess string and you have completed your pamphlet stitch book!


Have your little ones fill it with all sorts of drawings and fun stories and then share their creations with us on social media, we want to see them all!